Why a Mini Course Is the Smartest Digital Product to Launch First
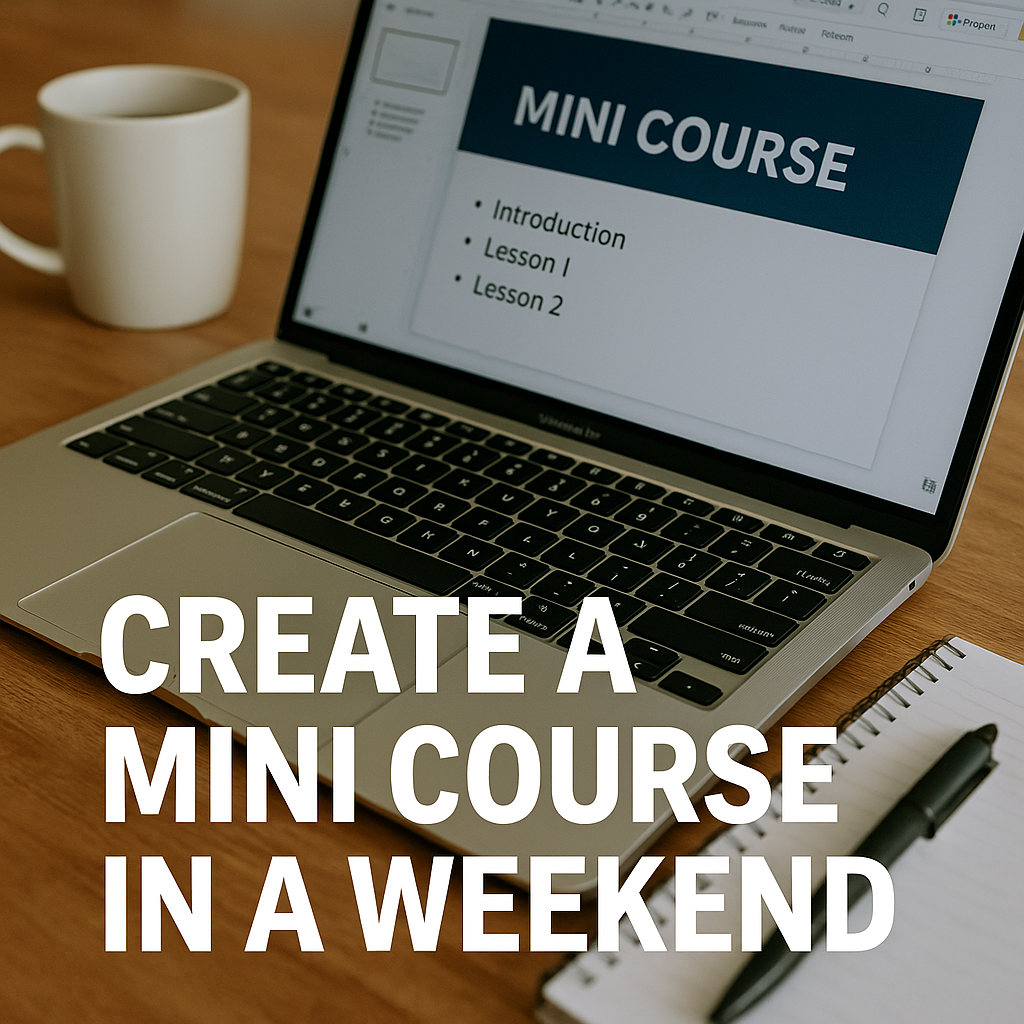
Online courses are a popular way to share knowledge and earn income, but creating them can be time-consuming. Imagine being able to plan, create, and launch a mini course (a short online course) in just a single weekend – sounds crazy, right? With the help of AI tools, this rapid timeline is increasingly feasible. This guide will show you a step-by-step approach to go from idea to launch of a miniature course within 48 hours, leveraging AI for speed without sacrificing quality.
What’s a “mini course”? It’s a focused online course that may consist of a couple of hours of content or a few short modules, smaller than a full-fledged, multi-week course. It could be delivered as a series of videos, emails, or articles, along with a worksheet or quiz. The idea is a product you can create quickly and sell for a lower price (or even offer as a free lead magnet) to test a topic or provide quick value to your audience.
By using AI for outlining, content creation, slide generation, and marketing copy, you, as a solopreneur, can crank out a polished mini-course over a weekend. Let’s break down how.
Saturday Morning: Plan Your Mini Course Fast with AI Assistance
Morning: Choose a Topic and Outline Your Mini Course Fast with AI
- Pick a High-Value Topic: You likely have a subject in mind – something in your niche that people often ask about or a skill you can teach. If you’re unsure, use AI to brainstorm. Open up ChatGPT and prompt: “What are some trending pain points or hot topics [my audience type] is interested in learning?” For example, a fitness coach might ask about “short at-home workout plans” or a marketing consultant might ask about “getting high-quality leads on LinkedIn.” ChatGPT can spit out popular sub-topics. Select one that you feel comfortable teaching and that seems to have interest. (Don’t spend too long in analysis-paralysis; trust your gut after a bit of quick validation.)
- Define the Course Goal: What will someone achieve or learn by the end of your mini-course? Write a one-sentence outcome like, “By the end of this course, you will be able to ___.” This will guide the content. You can even have AI refine this: “Turn this course outcome into a compelling value statement: [your draft].”
- Generate an Outline with AI: Now, let’s quickly create the course structure. Ask ChatGPT to help: “Create a course outline for a 1-hour mini-course on [topic]. Include 3-5 main lessons or sections with brief descriptions.” For example, for a course on LinkedIn lead generation, the AI might outline the following lessons: Lesson 1 – Optimizing Your Profile, Lesson 2 – Building Your Network, Lesson 3 – Creating Content that Attracts Leads, and Lesson 4 – Direct Outreach Strategies. The AI can give you a starting structure in seconds. Review the outline and modify it as needed – you’re the expert, so feel free to add or remove lessons. Keep it lean (3 to 5 lessons is ideal for a mini course).
- Break Down Lessons into Topics: For each lesson, jot bullet points of sub-topics or steps you want to cover. You can again enlist AI: “Expand on Lesson 2: Building Your Network – what sub-topics or steps should be covered in this lesson?” The AI might list things like ‘identifying high-value contacts,’ ‘sending personalized connection requests,’ and ‘engaging with new connections,’ etc. These bullets can become sections or talking points within that lesson.
By late morning, you should have a solid course outline with the main lessons and subpoints. Essentially, you now have a table of contents for your mini course. This level of planning can typically take many hours of brainstorming. With AI assistance, you can achieve a coherent structure much faster, and you can always tweak it to match your style and experience.
Midday/Afternoon: Use AI to Draft, Edit, and Format Your Course Content
Now it’s time to produce the actual content for each lesson. Depending on your chosen format (video lessons, text lessons, slides, etc.), the approach will differ slightly. I’ll assume a standard format: slide presentations with voice-over, which can then be recorded as video. But you can adapt if you’re doing text-based lessons or a webinar format.
- Draft Lesson Content with AI: Take Lesson 1 from your outline. You have bullet points for it. Feed them to ChatGPT: “Write a detailed explanation for the following bullet points intended as a lesson on [Lesson topic]. Bullet points: [list them].” The AI will generate a few paragraphs for each point, essentially drafting your lesson script or text. Generative AI can produce well-structured content extremely quickly, so you might get a full lesson’s worth of material in a minute or two. Repeat this for each lesson. Now you have raw text content for all lessons.
- Quality check: Read through the AI-generated content. It will likely be generally correct but possibly generic. Edit it to add your personal anecdotes, examples or case studies – this is crucial to make the course uniquely yours and valuable. Where the AI content is lacking depth or accuracy, add more explanation. Keep each lesson’s length reasonable (for a mini course, perhaps 5-10 minutes of reading or speaking per lesson).
- If you plan to have transcripts or text handouts, polishing this text matters. If you’re only using it as a script for a video you’ll narrate, you can be a bit more informal in editing.
- Create Slides or Visual Aids (Optional): If you’re doing video lessons, you’ll want to use slides. You can expedite slide creation with AI tools:
- Try Beautiful.ai or Gamma.app – these use AI to assist slide layout. For example, in Beautiful.ai, you can choose a template and it will auto-format text nicely. Paste in one major point or short paragraph per slide from your script.
- Or use a prompt-based slide maker: There are emerging tools where you feed your outline or script and it generates slide decks for you. Even without those, simply copying text into PowerPoint or Google Slides might be the quickest option if the AI isn’t formatting as desired.
- Alternatively, Notion has a new feature to turn pages into a presentation format, though it might not be as dynamic.
- Keep slides simple: a headline, a few bullet points, maybe an image. You can find images using AI too – e.g., DALL·E or Unsplash for relevant free photos. But given our time crunch, don’t spend more than a few minutes per slide on visuals. A plain background with text is fine to start.
- AI image generation: If you do want a unique illustration (say, a neat graphic to represent a concept), you can ask DALL·E or Midjourney for it. For example, “an infographic-style image of a network of professionals connecting” for that LinkedIn lesson. This can produce something usable, or you might skip if it takes too long to get right.
- Consider AI Video or Audio (if not comfortable on camera): If you absolutely don’t want to appear on video or record audio, AI can step in here too. Services like Synthesia can create an avatar that speaks your script in a video, or Murf and Play.ht can do text-to-speech with realistic voices for audio. It might be overkill for a weekend project, but it’s possible. However, using your own voice is often faster and more genuine – and you probably have the means to record audio on your computer or phone. Save AI voice for later if needed.
By Saturday evening, aim to have all lesson content drafted and slides prepared. This is the bulk of the course creation done in one day. It’s intense, but remember, you had AI helping at each step: brainstorming, outlining, drafting text, and even making slides. What normally might take a week of writing and designing you just compressed into hours.
Sunday: Record, Polish, and Prep to Launch Your Mini Course
With the content in hand, Sunday is about turning it into a deliverable format and setting up the launch materials.
Morning: Record Your Mini Course Videos or Voiceover with AI Support
- Record Your Lessons: If it’s a video course, record yourself going through the slides. You can use a tool like Loom, Zoom (just start a meeting alone and hit record with screen share), or more specialized software like Camtasia or OBS. Since this is a mini course, you might end up with maybe 30-60 minutes of total video across lessons, which is manageable to record in a morning.
- Don’t worry about being perfect. If you mess up a sentence, you can pause and just say it again – you can edit later, or if it’s minor, sometimes leaving small imperfections makes it feel more authentic.
- If you really dislike video, an alternative is to do audio-only and provide the slides as PDF. But video is more engaging for courses.
- AI can assist editing: After recording, you can use a tool like Descript (which transcribes and lets you cut video by editing text) to remove filler words or long silences. Descript even has an “auto remove ums” feature. This can save you time compared to manual video editing.
- If you have multiple lessons, you might record them in separate video files for convenience.
- Tip: Keep each lesson video in the range of 5–15 minutes to maintain viewer attention. Since it’s a mini course, you don’t want each lesson to be too long.
- Create Supporting Materials: Depending on your course, you might want a couple extras like:
- Workbook or Worksheet: e.g., a PDF with exercise for students to fill in. AI can help here too – ask ChatGPT, “Create 5 exercise questions or prompts to help someone apply [lesson topic].” You can then compile those into a nice-looking PDF (maybe using Canva or Google Docs). This doesn’t have to be fancy given the time – even a bullet list of questions is fine.
- Quiz: Some course creators like to include a quick quiz at the end of a course. You could have AI generate a few multiple-choice questions and answers. For instance, “Give me a 5-question multiple choice quiz on the key points of Lesson 3, with answers.” This could go in your course platform’s quiz feature or just as a self-assessment in a PDF.
- These are optional but can add value. Allocate an hour to whip up any such extras with AI assistance.
Afternoon: Set Up and Launch Your Mini Course
- Upload to a Platform: Now that your content is ready (videos, PDFs, etc.), you need a place for students to access it. Options:
- Course Platforms: E.g., Teachable, Thinkific, Podia, or Kajabi. These let you create a course curriculum easily and host videos. However, setting them up and customizing might take more than a few hours if you’re new to them.
- Simpler methods: If you’re truly doing this in one weekend and want speed, you could:
- Make it an email course: deliver it via email sequence (using a service like ConvertKit or Mailchimp). For example, schedule 1 lesson per day to send to students. This is quick to set up – just copy your lesson text or video links into emails.
- Use Notion or a password-protected page: Some creators deliver courses as a Notion page or a hidden page on their website, which contains the video links and content. Notion is actually not bad – you can create a Notion document with all the content embedded (upload videos to Google Drive or YouTube and make them unlisted, then embed them).
- Use Gumroad: You can upload videos and files as a product for download, or create a Gumroad “course,” which is essentially a series of posts that unlock. Gumroad is quick for selling; though the course experience is not as slick as a dedicated platform, it works for a basic product. Given our weekend constraint, Gumroad might be the fastest way to put it behind a paywall – just zip up the videos/PDFs or upload them individually and write a short description for each section.
- Choose whatever you can execute fastest. The goal is to have a functional delivery method by end of day. For demonstration, let’s say you choose Gumroad for quickness. You’d create a new product (either as a download or a Gumroad “workflow”), price it (maybe $20-$50 for a mini course, depending on value), upload the content, and set it to hidden or pre-order until you’re ready to launch.
- Pricing and Positioning: Decide on the price. Since this is a mini course, likely it’s a lower-priced offering in your lineup. Could even be free if your goal is to build an email list (but since we’re talking about launching as a product, we’ll assume paid). AI can even help you write a quick value proposition for pricing: “Give me a one-sentence pitch highlighting why this course is worth $29.” – It might generate something about how the course could save hours of research or jumpstart their success.
- Sales Page Copy with AI: You need a landing page or at least a description to convince people to sign up.
- If using Gumroad or a simple site, write a brief description of what the course includes and who it’s for. Leverage AI to polish this: “Write a persuasive course description for [course name] that highlights benefits and what’s included (4 video lessons, etc.), and includes a call-to-action.” The output will give you a solid starting point. Ensure that it matches your voice and the actual course content.
- Key points to mention: the pain point it solves, the outcome learners get, how quick/concise it is (some people like that it’s a short course), any unique aspect (e.g., includes workbook, based on your real experience, etc.).
- If you have any credibility markers (your experience or results), add those: e.g., “Taught by a certified __ with 10 years experience” or “Learn the framework I used to achieve __”.
- Set Up Payment/Sign-up: Ensure your checkout process is working (test it in preview mode or with a test purchase if possible). If you’re delivering via email, set up an email automation workflow and a sign-up form that includes payment. If via a platform, make sure the content is accessible after purchase.
- Promo Materials (briefly): Since it’s Sunday evening and you plan to launch, prepare at least a simple promotional plan:
- Write a quick announcement email to your list (if you have one) or a social media post to announce the course. AI can help draft these too: “Write a friendly announcement post about my new mini-course [title], highlighting what people can learn and the limited-time launch price.”
- Create a simple graphic if needed (maybe the course cover or just the title on a colored background) for social sharing. Canva can do this in minutes; they even have templates for course or webinar announcements.
- If you want to offer a launch discount or bonus for urgency, decide that now (e.g., first 10 buyers get a 1-on-1 consult, or a $10 off code valid for 48 hours).
- Make a checklist for Monday launch: e.g., “Post on LinkedIn, Tweet about it, Email my list, personally invite a few contacts” so you don’t forget in the excitement.
By the end of Sunday, you should have recorded and uploaded the course content, prepared the landing page or description, and drafted an initial promotional post or email.
From Idea to Income: Making the Most of Your Mini Course Launch
Many creators assume launching a complete online course requires a massive investment of time, money, and tech skills. But the truth is, you can launch a mini course that delivers expert tips, quick wins, and real value—without spending a lot of money or taking two weeks to build it.
A mini course is the ultimate low-cost, high-impact digital product. It’s a small package designed for a wider audience—ideal for impulse buyers or online students looking for quick lessons on a specific skill. That’s why many creators start here. You’re not trying to build an entire full-scale course. You’re building momentum.
To recap, here’s how to keep your mini-course content focused and fast-moving:
-
Keep your video lessons short—aim for a few quick lessons instead of long lectures.
-
Use AI to help create your content outline, course topic, and even draft your sales page or landing page.
-
Choose a course platform that allows fast publishing, or even deliver your free mini-course through email marketing to test your target audience.
-
Don’t overthink production—hit record with your phone, use basic editing software, and focus on good lighting and clear delivery.
-
Include a few key takeaways per module to reinforce learning and maximize value.
By keeping the entire process simple, you’re giving yourself a higher chance of follow-through and creating an asset that can attract sign-ups, validate a mini-course idea, or serve as a powerful lead magnet for your online business.
If you find your first course gaining traction, you can always dive deeper and turn it into a full course later. This is how most creators get on the right track—by starting small and growing smart.
How to Launch Your Mini Course and Start Selling Right Away
Congratulations – you built a mini course in a weekend! Now it’s time to let the world (or at least your audience) know. If you’ve set everything up by Sunday night, you can even announce it then or first thing Monday morning to start the week with a bang.
When you launch, be sure to monitor for any issues: test that buyers receive the content, watch for any questions or feedback, and be ready to assist (the human touch again!). The nice part is that you can also use AI for customer support or follow-ups, as described in earlier sections (such as using it to answer questions, etc.).
Bonus Tips to Launch Smarter and Avoid Course-Creation Burnout
- Scope Control: The biggest risk in a short timeline is letting the course scope creep too large. Stick to a narrow topic and a mini course format. It’s better to over-deliver on a small promise than to half-deliver a big one. AI might make it tempting to keep adding more content (since it’s easy to generate), but remember you’ll have to polish and possibly record whatever it generates. So be selective – sometimes less is more.
- Quality vs. Speed: AI will give you a good draft, but usually you need to inject your personal quality. Don’t skip the editing/review phase. Ensure facts are correct and examples make sense. If something in the AI content sounds off to you, fix or remove it. A quick weekend course can still be high-quality if you review it with a critical eye.
- Use Your Voice: One potential downside of AI-written content is it can sound generic. Combat that by adding your personality – maybe an anecdote about a past client, a joke that your specific audience would relate to, or reference current events in your field. These touches make the course feel handcrafted. You can instruct the AI to help with tone (“make this more humorous” or “use an analogy a busy mom would relate to”), but only you know your audience intimately.
- Leverage AI for Marketing Too: We focused on creation, but you can also use AI to plan your marketing. For example, have ChatGPT come up with a dozen social media post ideas or a content calendar to promote the course over the next week or two. It can help write those posts, as well as craft responses to common objections in comments. Essentially, keep using it as an assistant beyond the build phase.
- Learn from Launch and Iterate: After you launch, gather feedback. If people ask questions that weren’t covered, note them – you can update the course later (the beauty of digital products). If certain lessons are super popular, maybe that’s a hint you can expand that into a bigger course or a follow-up product. Treat this mini course as an experiment; AI helped you make it quickly, so you can afford to iterate rapidly too. You didn’t invest months, so if you see ways to improve or pivot, you can do so without feeling burnt out.
In summary, AI can be your course co-creator, handling much of the heavy lifting of writing and design in a flash. In one weekend, you outlined, wrote, and launched a mini course – something that used to take creators weeks or more. By dividing tasks between you and the AI (with you focusing on direction and refinement, and AI churning out first drafts and handling tedious bits), you compressed the timeline dramatically.
Now you have a new product out in the world generating value (and potentially revenue). Not only is that an achievement in itself, but you’ve also proven a workflow that you can use again and again. Keep refining your process, and who knows – maybe next time, you’ll create your mini course in just one day!